Install M4Eclipse in Eclipse 3.3
Step 1:
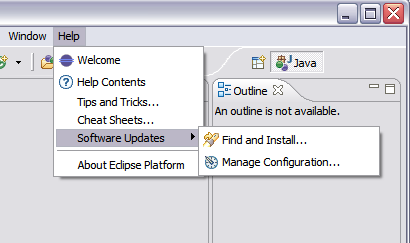
Begin the installation from the Eclipse Help menu item.
Step 2:
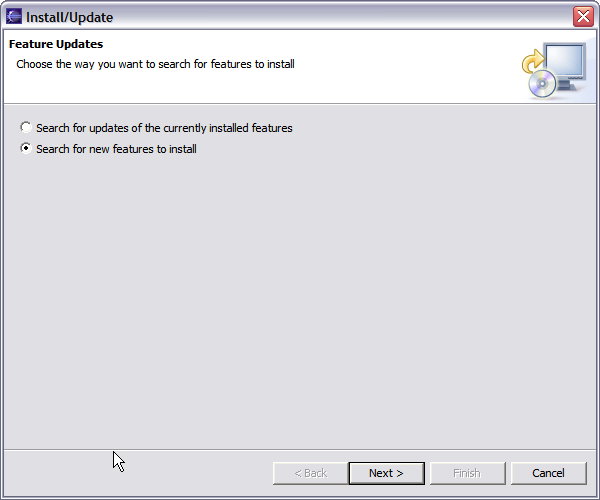
This screenshot show the screen as it initially comes up. In this case you will need to change the radio button to indicate that this is a new install.
Step 3:
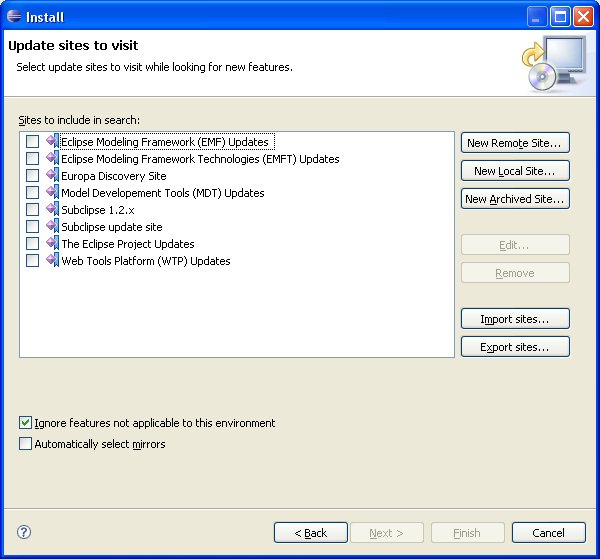
This screen will vary depending on the features you have installed already. You want to click on the New Remote Site button. If you are behind a proxy and the Eclipse install mechanism does not work, then you can download a zipped version of the update site and then click the New Local Site button instead.
Step 4:
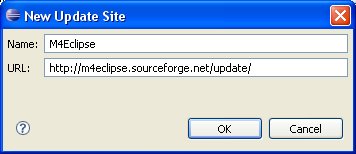
This screen is showing the New Remote Site dialog, filled in with the correct information to install Subclipse
    Name: M4Eclipse
    URL:  http://m4eclipse.sourceforge.net/update/
Step 5:
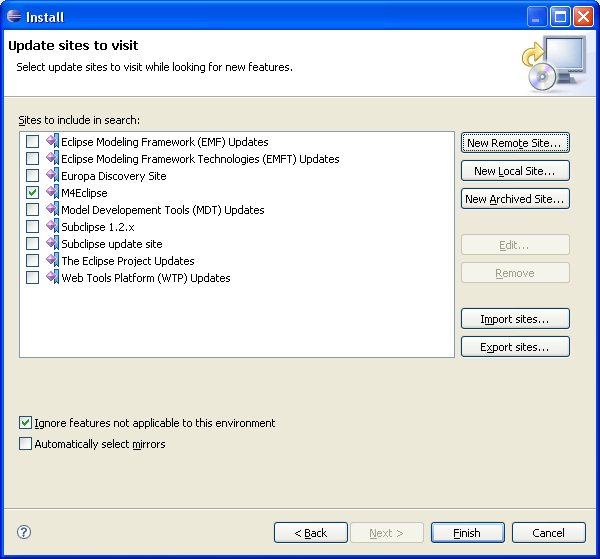
When you first come back to this screen, the site you added will NOT be selected. Be sure to select it before clicking Next.
Step 6:
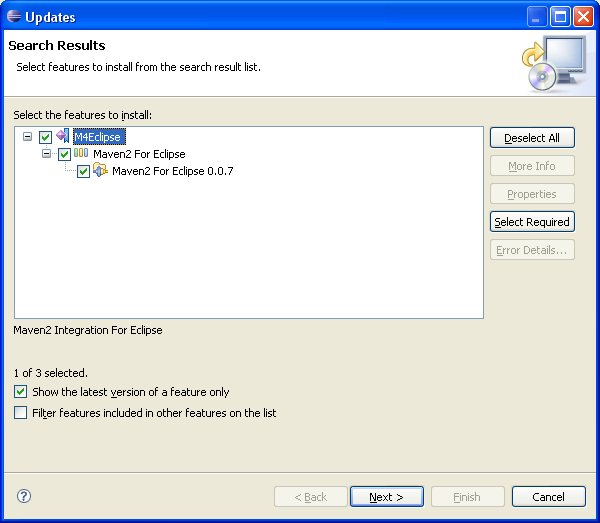
This next screen shows all of the features that are available to install.
Step 7:
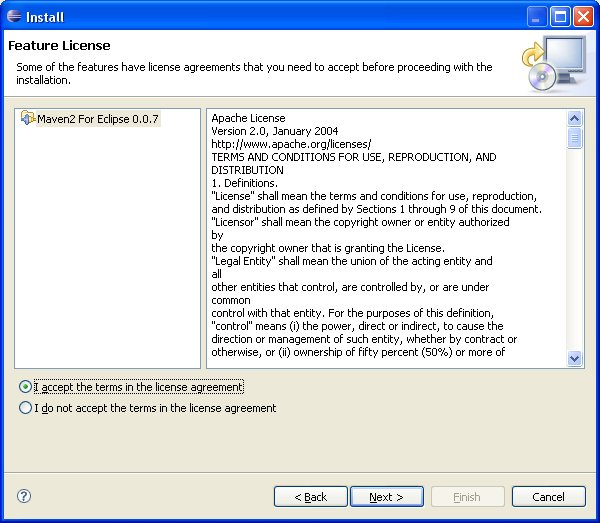
Click the button to accept the license agreement.
Step 8:
Confirm the install location

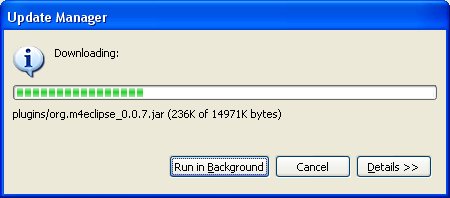
Step 9:
Eclipse start the downloading of the plugin.
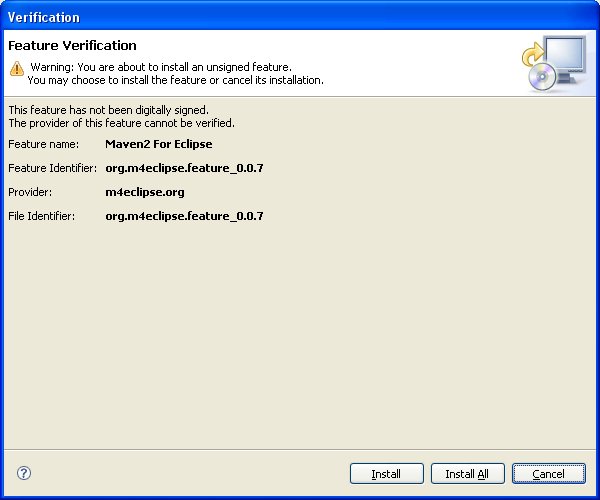
Step 10:
Confirm the installation.
Step 11:
Eclipse needs to be restarted after installing M4Eclipse.

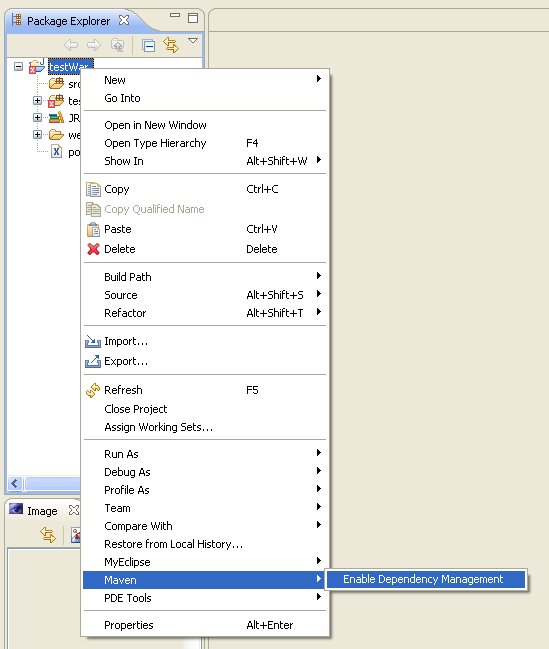
Step 12:
Now, enable an eclipse project which have a pom file in is main directory.